Showing posts with label Upcycled. Show all posts

Friday, August 26, 2011

Little Yellow Table

Months ago I picked up this little, extremely sturdy, plant stand/table at a yard sale.


As with all my projects, it sat in my garage for.ev.er before I got around to redoing it.

This is certainly not an overly spectacular piece of furniture, but I absolutely LOVE the color! (Strawflower...with a slight bit of distressing thanks to Ralph Lauren Smoke Glaze.)  And it is one of my favorite redo's to date!

Tomorrow she is going to a new home (via Craig and his list)...which is a total bummer to me.  I really want to keep her.  But alas, the downside of a small home, I have no room for her. :(


Isn't she just precious?!?  

I know she is a "she" because she is so dainty and yet so strong...she could be nothing other than a "she".


And it's amazing how resourceful we can be when need be.  My little vase of "flowers" are actually weeds that are growing in the yard of the abandoned house behind mine.  And yet in a cute Goodwill vase, they look beautiful. 


Such a sweet little lady.


I adore her.


Sunday, August 07, 2011

Recycled Yard Art

The first Saturday of every month, our Goodwill has everything for half off.

Since I couldn't find any yard sales this weekend, I popped over for the big sale and picked up a bunch of random glass pieces.


Let's take a step back...there is a booth at The Emporium, where my booth is, that has a few if these really awesome yard art sculptures made from recycled glass pieces.

I always stop by and stare at them! They charge $15 each, which I think is completely reasonable...I just haven't been able to afford that right now.

So.....when I was at the Goodwill it occurred to me that I could make one or two myself and save some money.  I already had the glass glue on hand.

The best part of all this, Doodle actually was excited to help!!!!!  As any tween girl's mom knows....this is a HUGE deal! ;)

So, we grabbed pieces like this old light shade....


and little juice glasses....


And some colored glass, that ironically was a bonus!  I was just buying the container...had no idea we'd end up using the beads inside! :)


And this is what we ended up with!  This one is mine....


And here is the Doodle's....


How stinkin' cute are these?!?  We are both pretty proud of how these turned out.


They sparkle so pretty in the garden!


You can insert a wooden dowel into the ground and into the vase portion for stability if you need to.


I'm not actually displaying them together like this, I plan to spread them out...but I wanted to get a shot of them outside to show them side by side.


Of course, the price is dependent on your glassware choices. These came in at around $3 each.  Not bad, huh?


I'll be posting this project at these linky parties! :)


Tuesday, July 12, 2011

Entertainment Center Redo

Can I just say, this is a project that has been in the works for MONTHS!!

And I do literally mean months!  

It was still cold and possibly snow still on the ground when I bought this lovely 80's three piece entertainment center off Craigslist for $125.

Even though my house is small and I don't like clutter, I didn't have any display space either.  Nowhere to put my pretties.  Nowhere for the things I've collected over the years.  Nowhere I could change things up for my favorite seasons like Fall, Halloween and Christmas.   

I really wanted something that felt built in, but with the flexibility (meaning, nothing actually built in so when I change my mind 1000 times once in awhile, I'm not forced into anything because I do have some ever so slight tendencies to change my mind.) ;)


This is my beauty in her original state.


You can even see in the bottom right corner, I even had the huge 36", 500 lb, tube TV to go in it. 


Over the MONTHS that it sat in my living room, I slowly finished off a bookshelf.  Then a door.  Then MANY weeks later, another bookshelf, etc.  


The huge TV died shortly after I purchased this unit.  But luckily for me, I'm too poor to buy a big TV, so I got a flat screen that would fit inside.


Recently I finally got enough motivation to finish the middle piece!  


But I had a sudden epiphany!  With the whole upcoming foster care thing, I really felt like the computer should be in the living room so I could always monitor what was being looked at.


After moving every piece of furniture in the house around (that might be a slight exaggeration, but it felt like it) to get a feel for where to put the computer and the TV, that's where the epiphany came in.


I turned the center entertainment unit into a computer desk!!!


Yep!  I did!


And all by myself at that!  I'm pretty tickled with how it came out.


For now, I just have the leftover fabric from my no-sew curtains hanging on a tension rod to block all the "ugly stuff".  I plan to cut it to the right length and possibly add a ruffle to the bottom.  I don't know we'll see.


I did not have to buy a single thing to make the transition from entertainment center to desk.  I reused everything I could from the original unit.


I moved one of the shelves up to desk height...even using the cleats from the shelf.  And I used the molding from the bottom of the unit to cap off my desk front.


I painted it the same white as my kitchen cabinets and antiqued everything.


It was A LOT of work!  But it has so much function now and I just love that all the components are hidden and that my computer can be in the living room with style and without looking like an "office".


Now to find a chair...which will have the added bonus of extra seating in my living room!  :)


Sunday, March 06, 2011

Upcycled Burlap Tissue Cover

Helloooo Ladies! :)

I am SO sorry I've been somewhat MIA the last week or so.  Losing my job, as strange as this sounds, was exhausting!!

I've had no gumption what-so-ever to edit pictures, type up posts or even be on the computer.  

But thank goodness I have been working on some projects. 

And I did complete a project last week that I was so excited to blog about that it sparked my mojo into gear! 

Here is the project that has me all giddy!! :)

I bought this little lovely months ago at one of my favorite thrift stores for $0.95.


I'm on a kick right now trying to get through projects I've had just sitting around and using what I have on hand. 

I'm planning a garage overhaul as soon as spring hits, so I figured I'd make it easier by actually finishing some projects that are just sitting and taking up space.  :)

So, with that in mind, I took my lovely circa 1988 tissue holder and spray painted it brown.


I planned to cover it in burlap, but you can somewhat see through burlap, so the paint just made for a neutral backdrop for the burlap.

Next I Modge Podged my burlap around the tissue holder, and a separate piece for the top.


I'm usually pretty impatient, but this time I actually had to wait for it to dry completely in order to clean up the edges with scissors.

Next, I hot glued a ruffled edge I purchased at JoAnn's Fabric (since I don't sew...I am SO thankful things like this can be bought pre-made!).


Too unfinished...so I also hot glued on some AWESOME trim I bought at JoAnn's awhile back.  This was around $2 a yard, but you can usually find it on sale or they run coupons weekly in the newspaper...which is the only time I buy this kind of stuff.


I had rough, unfinished edges from where I cut the top separate from the sides.  So, I also used the trim around the upper edge.

I just used a pair of small scissors and cut around the edge of the opening to create a clean look.  Since the Modge Podge makes the burlap super stiff, this was easy.


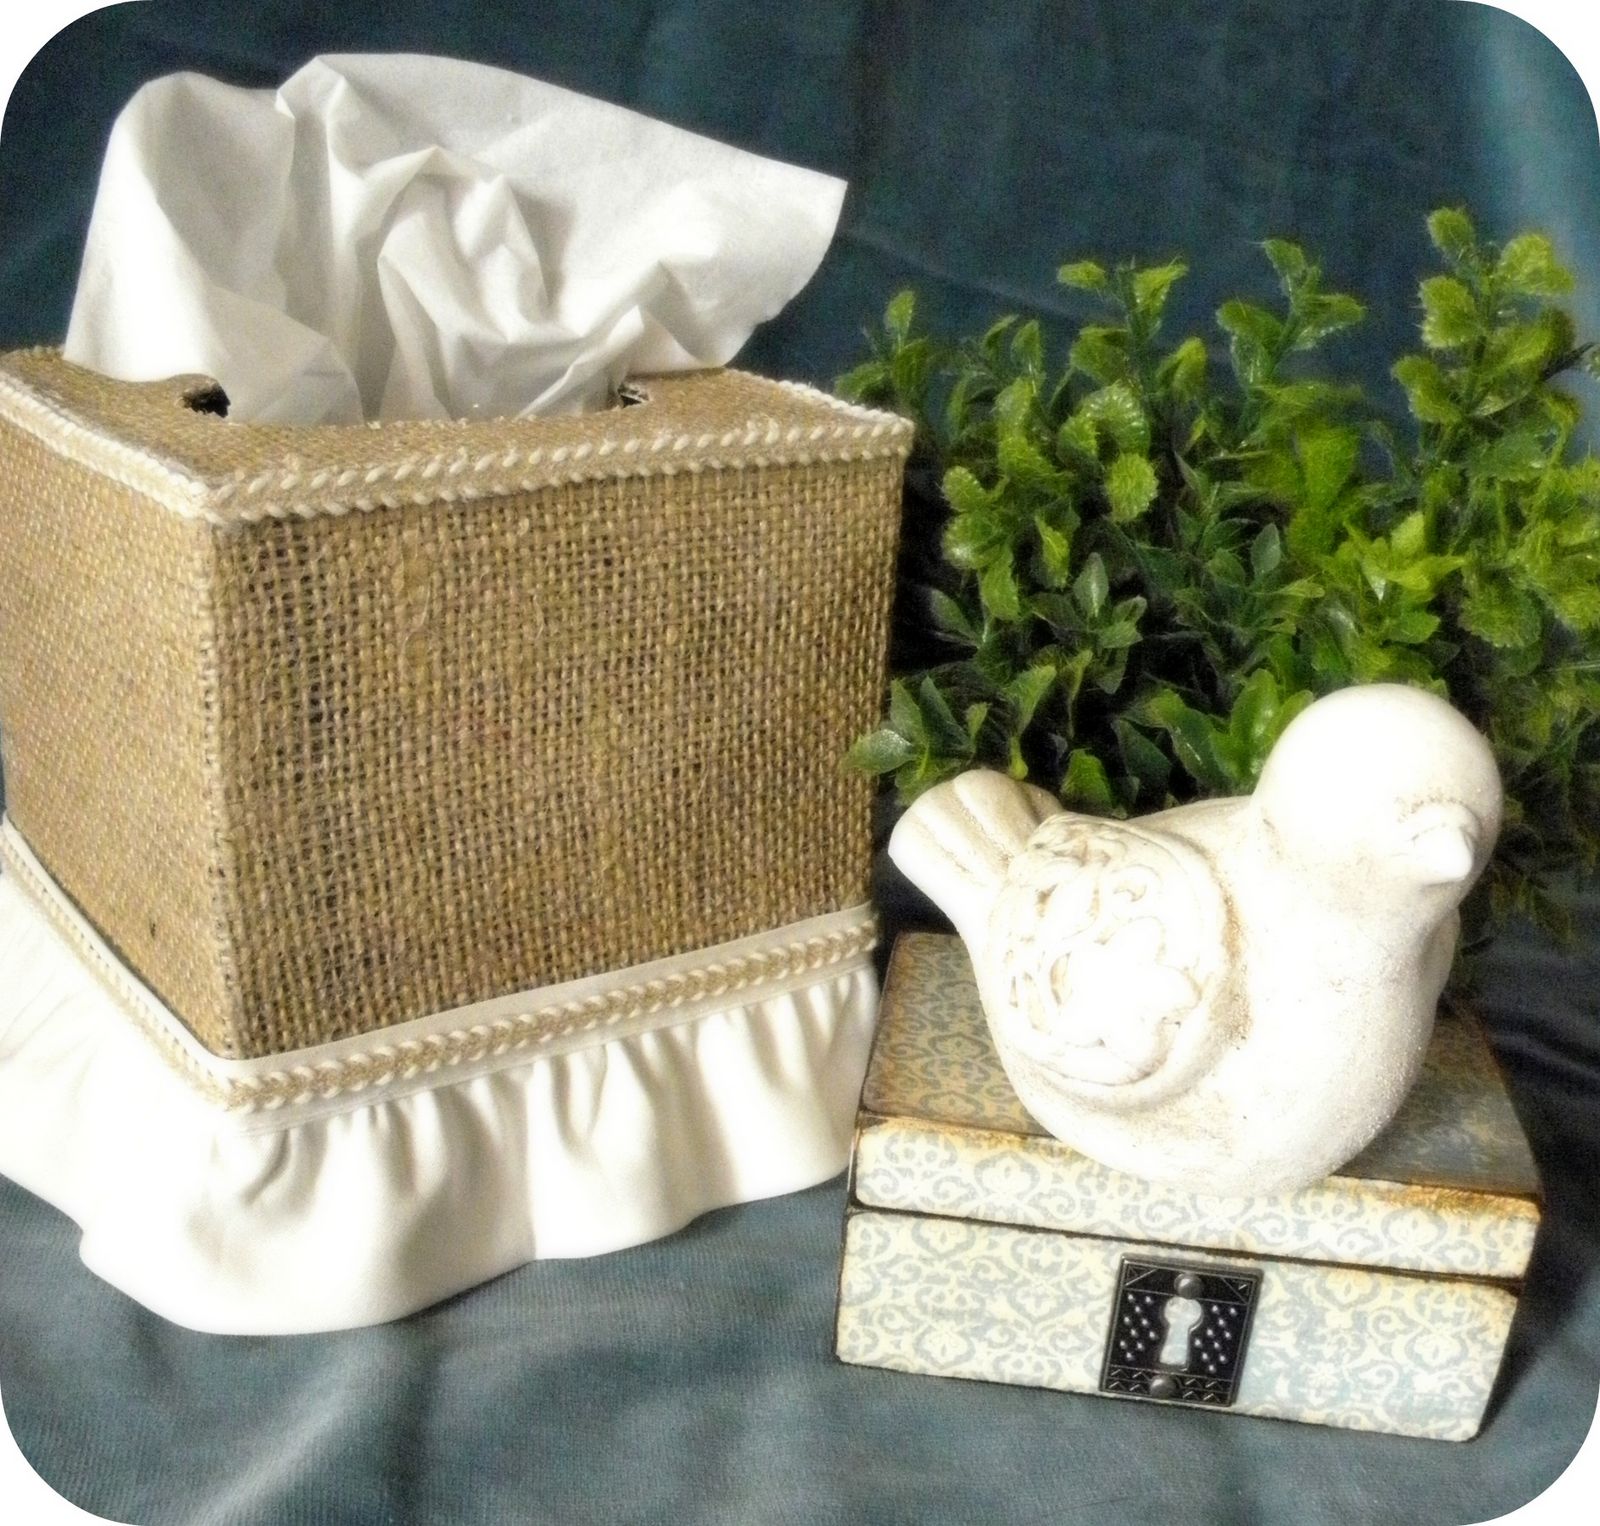
And here you have my finished...very cottage looking...tissue box cover!!!


And since I have a bit more time on my hands, I'm playing with my photography!  So, here's a few more fun shots.


And here is where my new tissue holder sits...


Isn't  it adorable?!?!?  I'm totally in love!! 

And just because...here's one more looksy! :)


Since I did not use anywhere near a yard of the trim pieces, and I had the burlap on hand, I estimated this whole thing cost me around $3. 


Update:  This project was featured at House of Grace



HOG